Quick Answer: DIY garage floor coating kits can look like a bargain, but they often end with problems such as poor adhesion, patchy coverage, and moisture-related failures — especially in NW Pennsylvania’s changeable climate. Hiring professionals guarantees proper surface prep, precise mixing, and application methods tuned for local conditions, giving you a long-lasting, attractive finish.
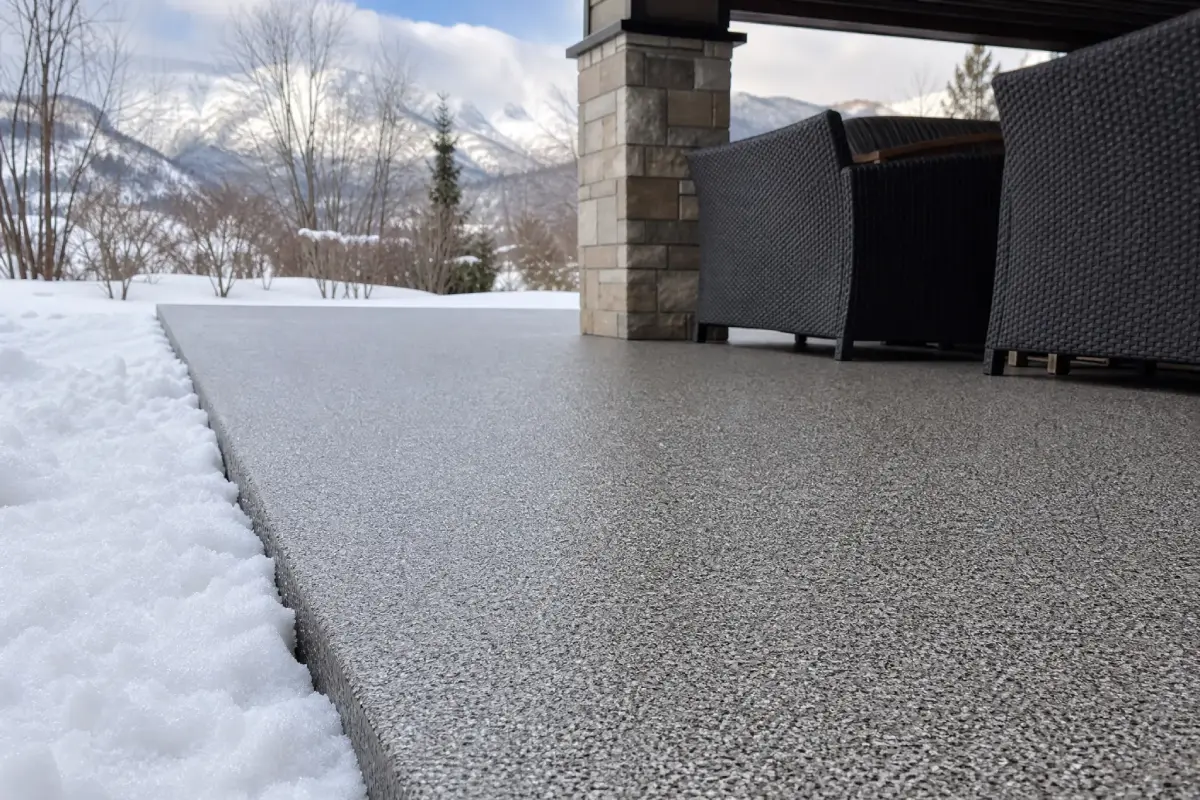
DIY kits are popular because they promise savings and a weekend project. In practice, many homeowners run into issues that keep the job from lasting. In NW Pennsylvania and Greater Pittsburgh, humidity swings, temperature changes, and older concrete make these jobs harder. Local pros know those conditions and adjust their process so coatings perform the way they should.
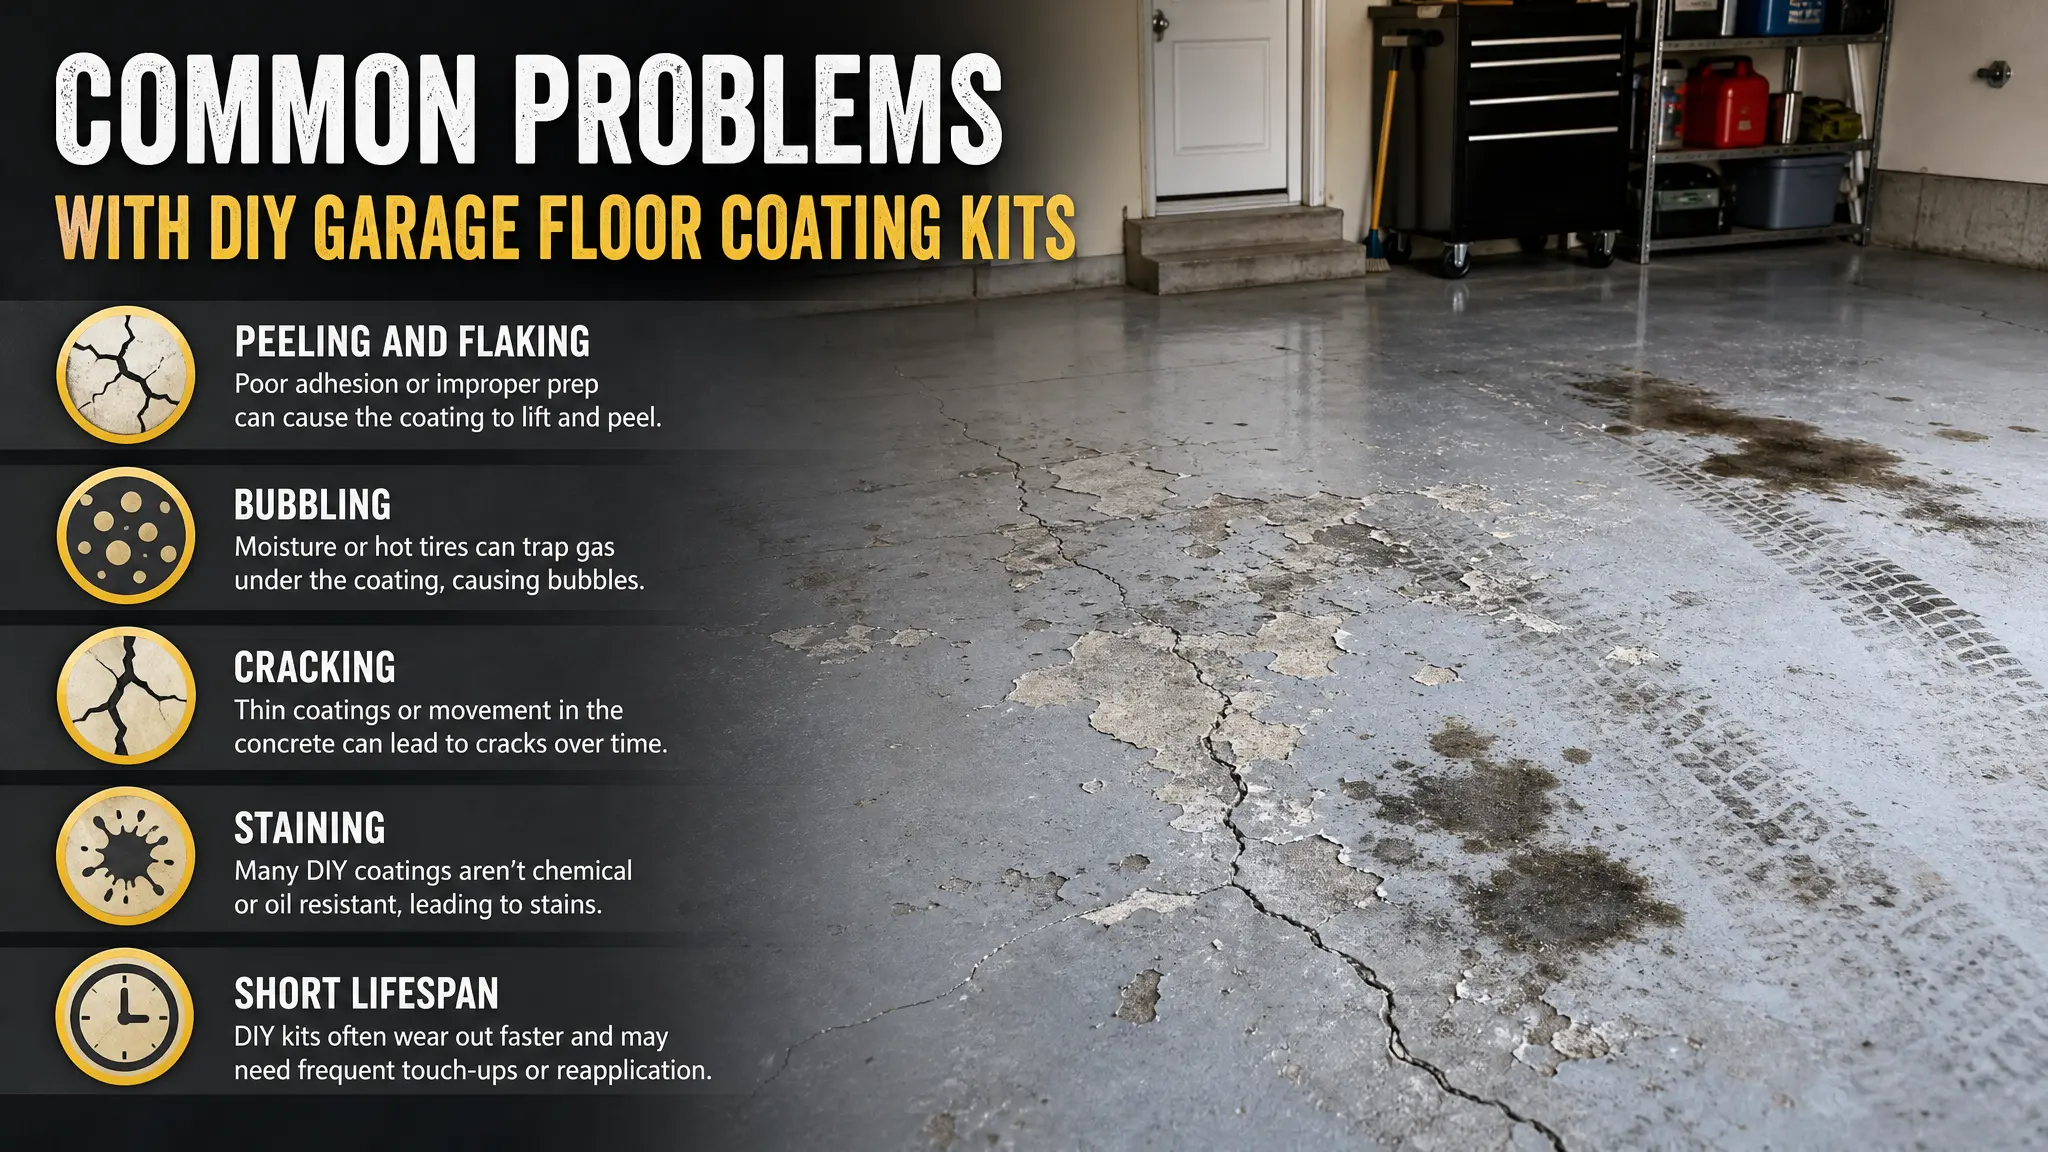
This article walks through seven frequent problems people see with DIY garage floor coating kits and explains how professional crews solve them. You’ll learn why surface prep matters, how environment affects curing, and which application steps are critical — so you can decide whether to tackle the work yourself or call a pro for dependable results.
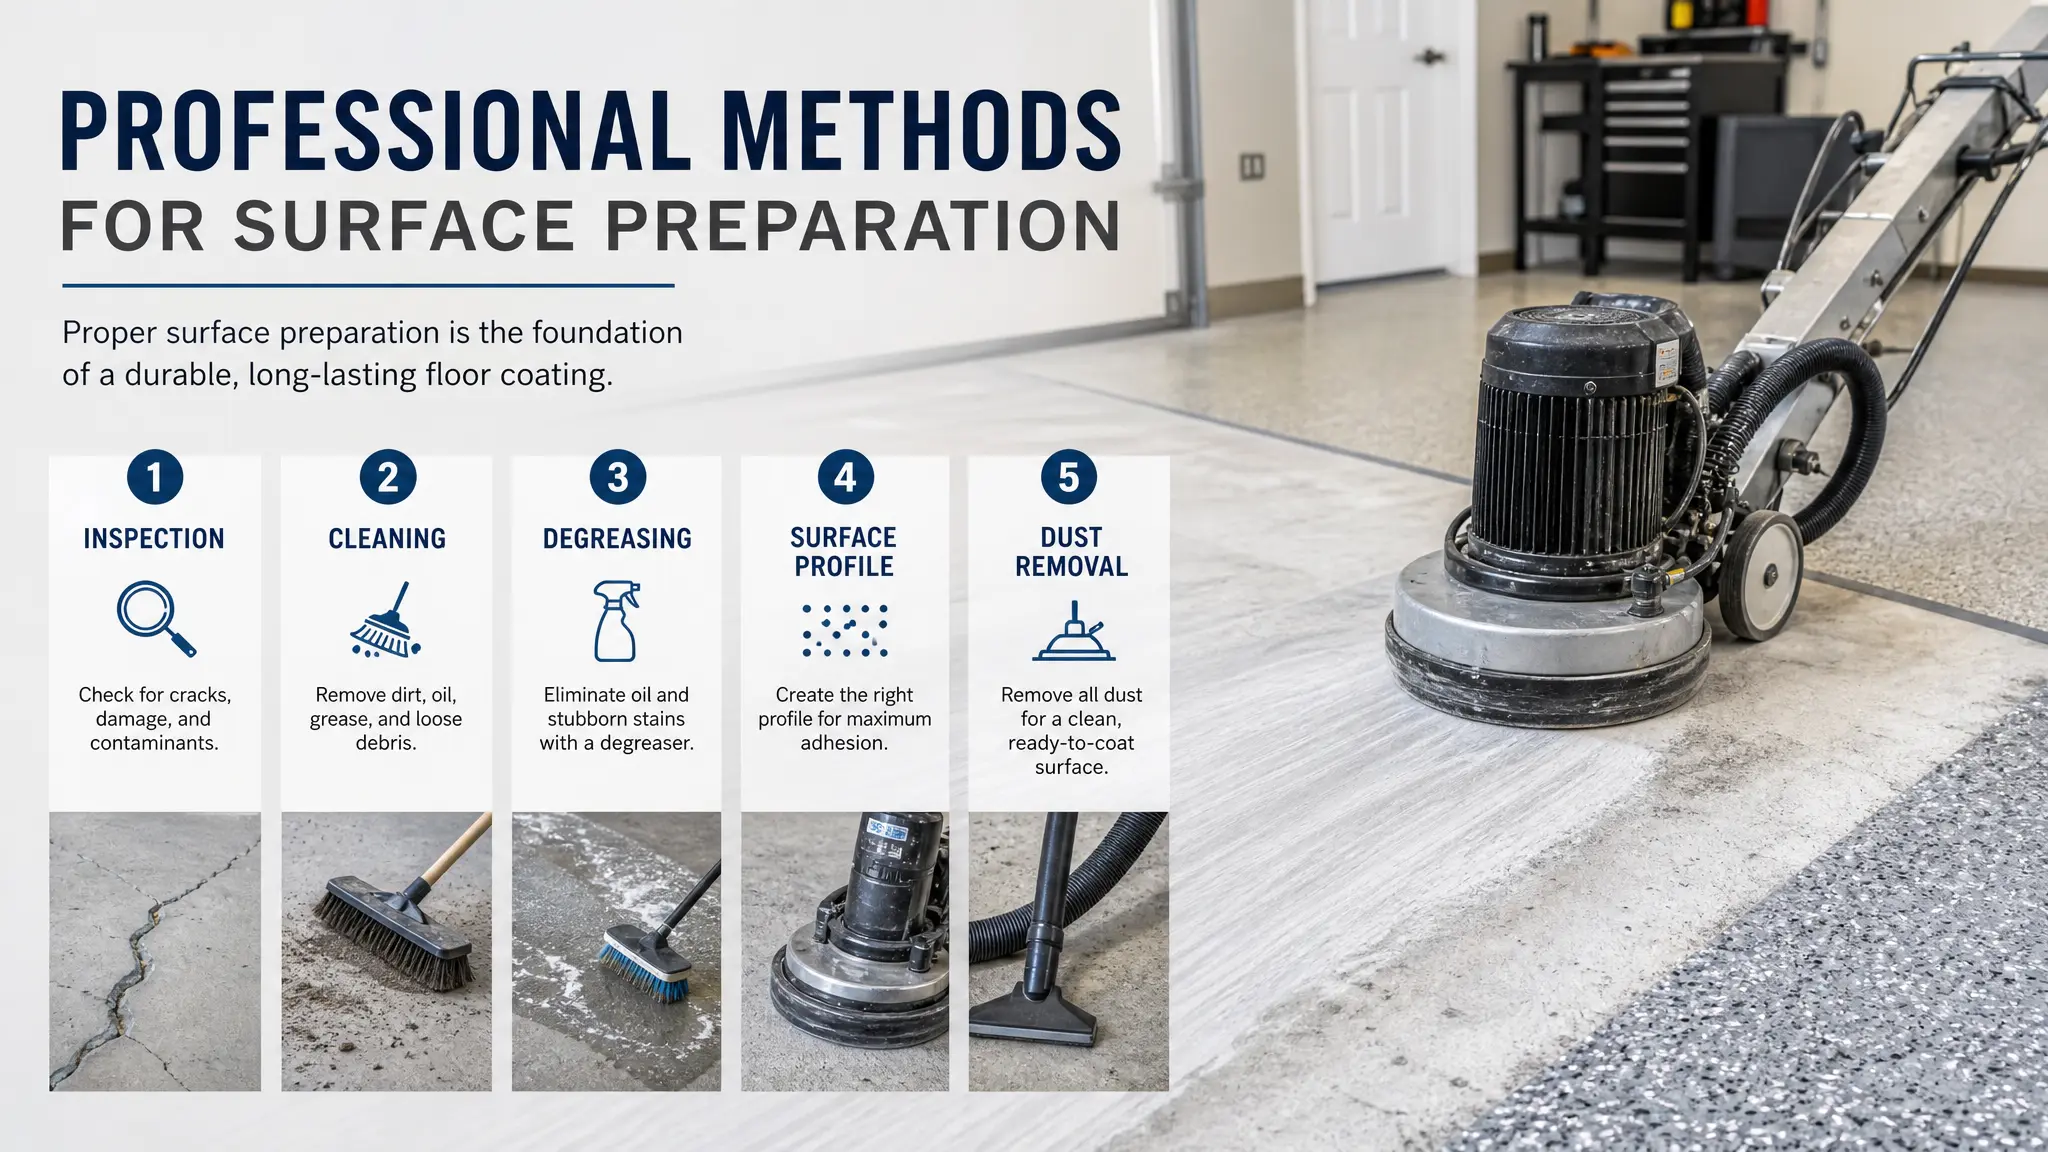
Inadequate Garage Floor Surface Preparation
Poor surface preparation is one of the fastest ways to guarantee a coating fails. Proper prep means removing oil, dirt, old coatings, and creating the right concrete profile so the coating can bond. Skipping or rushing this step leads to peeling, bubbling, and short-lived results. Professionals use the right equipment and techniques to make sure the surface is ready for a durable coating.
Why is cleaning and etching so important for your floor’s adhesion?
Cleaning and etching remove contaminants and open the concrete’s pores so the coating can stick. Pros use industrial cleaners, degreasers, and mechanical agitating tools to get the surface truly clean — not just “clean enough.” That extra effort prevents adhesion problems later.
What happens to your coating when you skip the proper prep work?
When the floor isn’t prepared correctly, you can expect premature wear, discoloration, and the need to redo the job sooner than planned. Skipping prep saves time up front but usually costs more in repairs and replacements down the road.
How do the pros prepare your floor surface for maximum durability?
Contractors rely on techniques like shot blasting and diamond grinding to remove contaminants and create a consistent surface profile. Research on pull-off strength requirements for epoxy primer adhesion confirms that meeting minimum substrate bond strength is essential. These methods give coatings something to bond to and dramatically increase the life of the finish.
Improper Mixing Ratios
Many DIY failures come from incorrect mixing. Epoxies and polyaspartics require exact ratios and thorough mixing. Get this wrong and the coating won’t cure or bond properly. Professionals measure, mix, and monitor materials so the chemistry is correct every time.
What goes wrong if you use the wrong mixing ratios for your coating?
Wrong ratios cause soft spots, tacky areas, uneven curing, and poor adhesion. Homeowners often underestimate how sensitive these products are to measurement and mixing technique.
How do professionals ensure your coating is mixed perfectly every time?
Pros use calibrated tools and follow manufacturer instructions precisely. They control pot life, induction time, and mixing speed to ensure consistent, reliable results.
What tools are used to guarantee you get the most accurate mix?
Contractors use digital scales, timed mixers, and purpose-built paddles to keep proportions and mix quality consistent. Those tools make a noticeable difference in performance and longevity.
Environmental Conditions
Temperature and humidity affect how coatings cure and adhere. Too much moisture in the air or extreme temperatures can ruin a job. Understanding concrete coating weather resistance is essential for local professionals who check conditions and adapt their schedule and product choice to avoid weather-related problems.
How will humidity and temperature affect your floor’s curing process?
High humidity can trap moisture and cause bubbling or poor adhesion. Cold or hot temperatures change cure times and handling characteristics. That’s why timing and environmental control matter.
How do professionals assess the environment before working on your garage floor?
Before starting, pros measure temperature, relative humidity, and concrete temperature. That assessment tells them whether to proceed, delay, or use a product formulated for the current conditions.
When is the best time for you to apply a garage floor coating?
Pros pick application windows when conditions are favorable — often scheduling work in spring or fall, or using heated/ventilated setups in winter. Good timing prevents avoidable failures.
Coverage Shortfalls
DIY kits often understate how much product you’ll need. Surface texture and porosity affect coverage, and homeowners frequently run out of material mid-job, leaving thin spots or mismatched patches. See our DIY vs. professional garage floor coating cost study for a breakdown of real-world expenses.
Can you rely on the typical coverage percentages listed on DIY kits?
Manufacturers list ideal coverage numbers, but those assume smooth, non-porous concrete and perfect technique. Real-world surfaces usually need more material than the kit suggests.
How do pros calculate coverage to ensure your floor gets full protection?
Pros measure the floor, assess porosity, and calculate material needs so you don’t run short. They plan for waste and overlaps to ensure even, full coverage from edge to edge.
How can you avoid surprise expenses when coating your garage floor?
Accurate estimates stop surprise expenses from buying extra product mid-project. Hiring a pro helps you budget correctly and keeps the job on schedule.
Application Technique

How the coating is applied matters as much as what product you use. Rolling too fast, applying too thickly, or using the wrong tool creates visible flaws and reduces durability.
What are the most common application mistakes you might make with a DIY kit?
Typical mistakes include overworking the material, applying inconsistent film thickness, and ignoring manufacturer spread rates. Those errors lead to uneven texture, visible lines, and weaker protection.
What methods do professionals use to apply your coating flawlessly?
Experienced crews know when to roll, brush, or spray — and how to sequence work for consistent results. They control film thickness and finish so the surface looks and performs like a professionally coated garage floor.
What specialized tools ensure your application is perfectly even?
Pros use squeegees, structured rollers, and specialized sprayers to apply coatings evenly. Those tools, combined with practiced technique, minimize imperfections.
Moisture Issues
Moisture in the concrete is a leading cause of coating failure. Applying coatings over damp slabs can prevent proper bonding and lead to peeling, blisters, and delamination.
What are the consequences if you apply a coating over damp concrete?
When moisture escapes through the coating, it can lift or blister the finish. That leads to costly repairs and short service life.
What methods do pros use to test your concrete for hidden moisture?
Pros use moisture meters, relative humidity in-situ probes, or calcium chloride tests to verify the slab’s moisture condition before coating. A technical assessment of moisture vapor emissions and floor coating failure shows how skipping these tests leads to delamination. Those tests remove guesswork and reduce risk.
What strategies can be used to prevent moisture from ruining your coating?
If moisture is present, contractors can install vapor barriers, use moisture-tolerant primers, or delay the job until conditions improve. These strategies protect the investment and prevent future failure.
Thickness of Coating
Film thickness affects durability. One thin coat from a DIY kit often won’t stand up to vehicle traffic, chemicals, and daily wear. Professionals build the recommended thickness with multiple controlled coats.
Is the typical thickness of a DIY kit coat enough for your garage?
Many kits suggest a single coat or give a range that’s optimistic for real-world use. Thin applications are more prone to chipping and wear.
What are the benefits of choosing a thicker, professional coating for your floor?
Professionals apply multiple layers to reach the manufacturer’s recommended mil thickness, improving impact resistance, longevity, and overall performance.
How does the durability of a professional job compare to your DIY effort?
A properly applied, thicker coating resists chipping, staining, and abrasion far better than a single thin DIY coat. That extra thickness pays off in fewer repairs and longer life.
Benefits of Professional Services
Hiring pros for garage floor coatings delivers better results, less hassle, and long-term savings.
- Cost-Effectiveness in the Long Run: Professional work costs more up front but avoids the repeated repairs and reorders that often follow DIY failures.
- Expertise in Surface Preparation: Contractors bring the right tools and the skill to prepare concrete correctly so coatings adhere and last.
- Warranty and Support: Many professionals offer warranties and post-installation support, giving homeowners confidence and protection.
If you want a dependable garage floor in NW Pennsylvania or Greater Pittsburgh, Specialty Concrete Coatings LLC provides tailored, professional solutions for residential and commercial concrete. Our crews handle the inspection, preparation, and application so you get a durable, attractive finish that stands up to local conditions.
Ready to Transform Your Garage Floor?
Choose Specialty Concrete Coatings LLC for experienced garage floor coating services in NW Pennsylvania and Greater Pittsburgh. We deliver quality workmanship, customized solutions, and results built to handle local weather and daily use. Contact us to schedule a consultation and get a floor that looks great and lasts.
Frequently Asked Questions
What are the signs that my garage floor needs a new coating?
Look for peeling, cracking, flaking, large stains, or areas where the surface feels rough or uneven. Moisture-related bubbles or visible wear from traffic are also clear signs it’s time for a new coating. Regular inspections catch problems early and make repairs easier and less expensive.
How long does a professional garage floor coating last?
A professionally applied coating typically lasts 5 to 15 years depending on the product, traffic levels, and maintenance. Epoxy, polyaspartic, and polyurethane systems each have different lifespans, but correct prep and application are the biggest factors in longevity.
Can I apply a garage floor coating in winter?
Winter applications are possible but trickier. Low temperatures and high humidity can slow curing and affect adhesion. Professionals can use heated spaces, fast-curing products, or controlled environments to get good results — but preparation and product selection are key.
What types of coatings are available for garage floors?
Common options include epoxy (durable and chemical-resistant), polyurethane (flexible and UV-stable), and polyaspartic (fast-curing and tough). Each has tradeoffs in cost, cure time, and performance, so choose based on your priorities and consult a pro for the best fit.
How can I maintain my garage floor coating?
Routine maintenance is simple: sweep and wash with mild detergent, avoid harsh chemicals, and spot-treat stains quickly. Inspect the floor periodically for chips or wear and reseal or touch up as recommended by the installer to extend the coating’s life.
What should I do if my DIY coating fails?
If your DIY coating is failing, first assess the damage — peeling, bubbling, or soft spots indicate adhesion or moisture problems. In many cases the failed coating must be removed and the slab properly prepared before re-coating. Bringing in a professional can identify the root cause and correct it to prevent repeated failure.