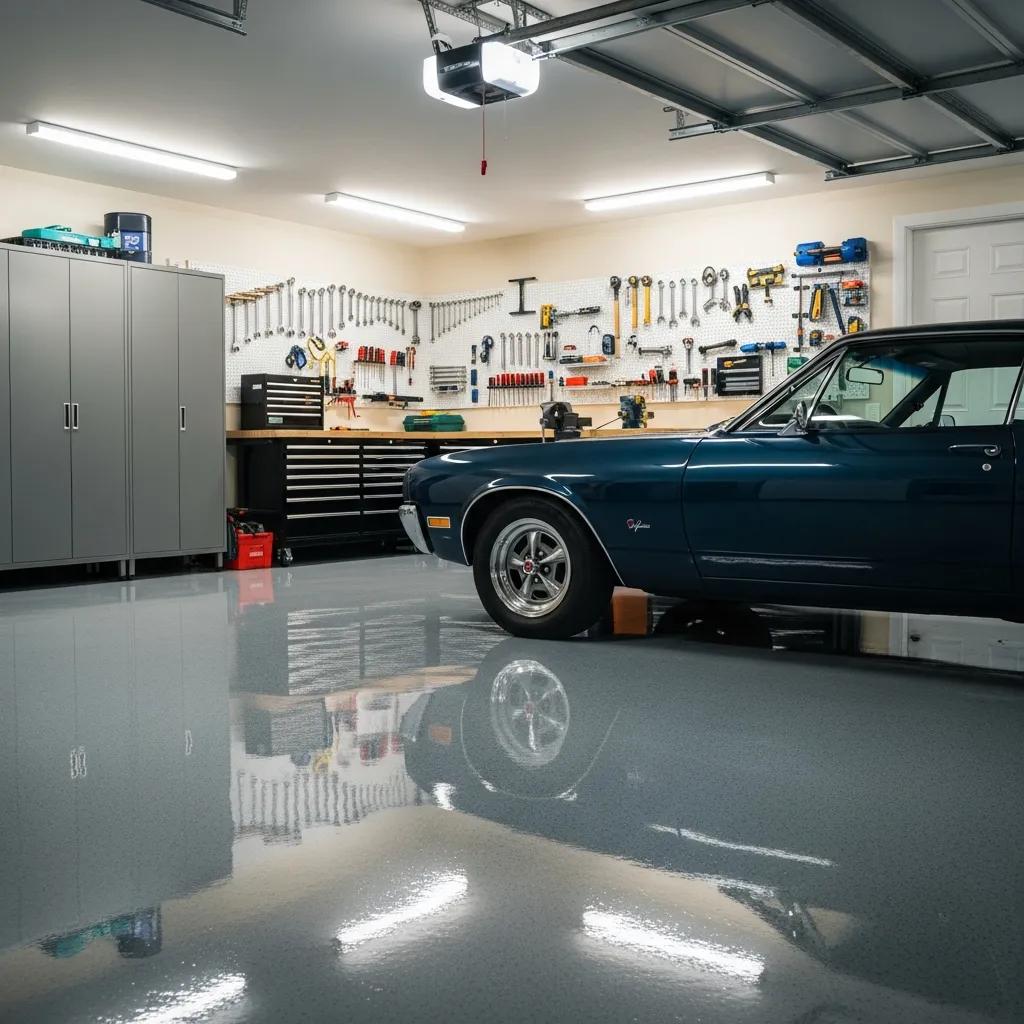
A 1-day garage floor coating installation is an efficient solution for homeowners and businesses looking to enhance the durability and aesthetics of their concrete surfaces. This process not only revitalizes the appearance of your garage but also provides a protective layer that can withstand heavy use. In this guide, we will walk you through the entire installation process, highlighting key steps and considerations to ensure a successful outcome. You will learn about the preparation required, the application techniques used, and the benefits of choosing a professional service like Specialty Concrete Coatings. By the end of this article, you will have a clear understanding of what to expect during your garage floor coating installation.
How Is the Garage Floor Prepared for a 1-Day Coating Installation?
Preparing the garage floor is a crucial step in the coating installation process. Proper preparation ensures that the coating adheres effectively and lasts for years. The preparation typically involves several key steps:
- Surface Cleaning: The floor must be thoroughly cleaned to remove dirt, grease, and any existing coatings that could interfere with adhesion.
- Repairing Cracks: Any cracks or imperfections in the concrete should be repaired to create a smooth surface for the coating.
- Creating a Smooth Base: Grinding the surface may be necessary to achieve the right texture for optimal bonding.
These steps are essential for ensuring that the coating adheres properly and provides long-lasting results.
What Are the Key Surface Preparation Steps for Concrete Floor Coating?
Surface preparation is vital for the success of any concrete floor coating project. The essential steps include:
- Thorough Cleaning: This involves using industrial-grade cleaners to eliminate all contaminants from the surface.
- Removing Existing Coatings: If there are old coatings, they must be stripped away to allow the new coating to bond effectively.
- Addressing Oil Contamination: Any oil stains should be treated with appropriate solvents to ensure a clean surface.
By following these preparation steps, you can significantly enhance the performance and longevity of your garage floor coating.
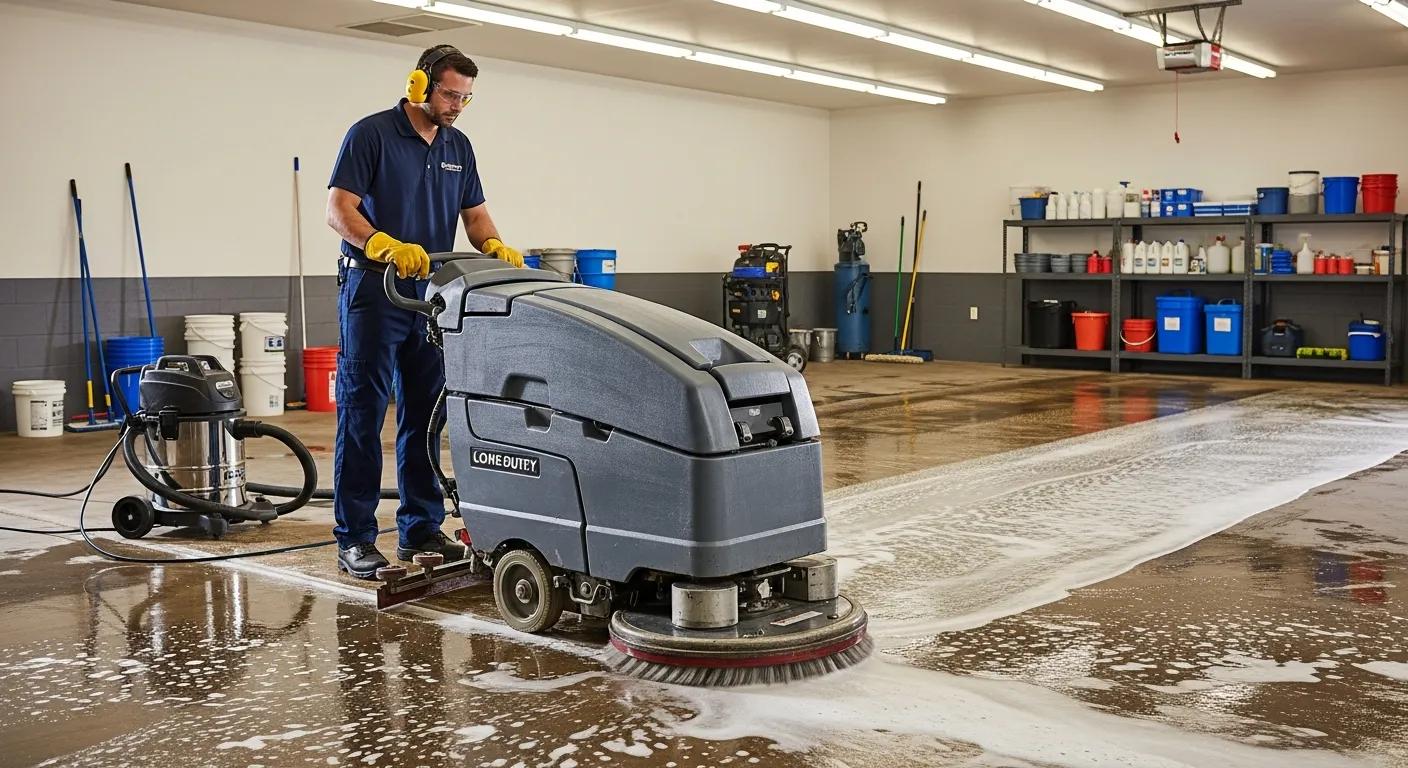
Why Is Proper Cleaning and Grinding Essential Before Coating?
Proper cleaning and grinding are critical for achieving strong adhesion of the coating to the concrete surface. Cleaning removes contaminants that can prevent the coating from bonding effectively, while grinding creates a rough texture that enhances adhesion. This process also helps to remove any surface imperfections that could affect the final appearance of the coating. Ensuring these steps are completed thoroughly will lead to a more durable and aesthetically pleasing finish.
What Is the Step-by-Step Process of Garage Floor Epoxy Application?
The application of garage floor epoxy involves several systematic steps to ensure a high-quality finish:
- Surface Preparation: As previously discussed, this includes cleaning, repairing, and grinding the floor.
- Primer Application: A primer is applied to enhance adhesion and prepare the surface for the epoxy.
- Topcoat Application: After the primer has cured, the epoxy topcoat is applied, often in multiple layers for added durability.
Following these steps carefully will result in a robust and visually appealing garage floor.
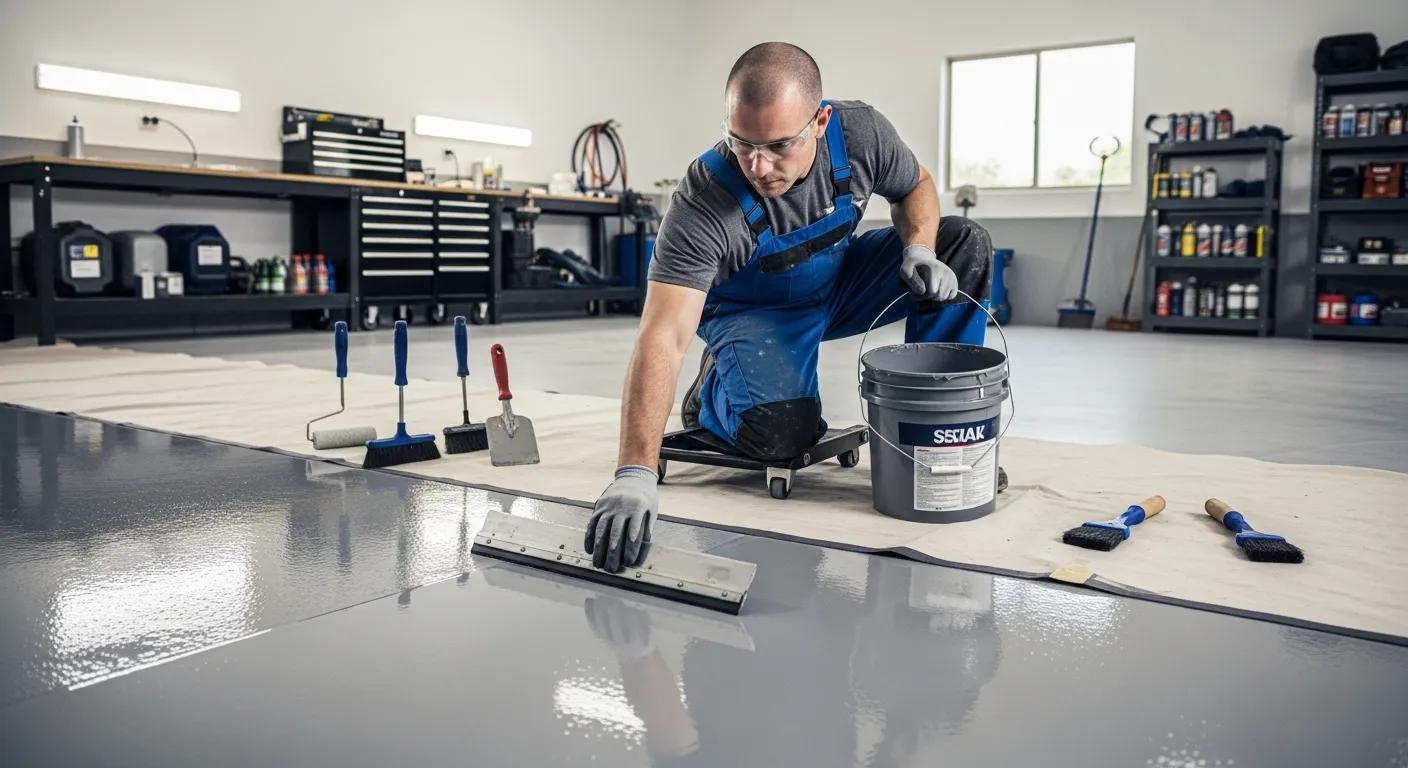
How Are Priming and Coating Applied During Installation?
The application of primer and coating is a meticulous process that requires attention to detail:
- Surface Preparation: Ensure the surface is clean and dry before applying any products.
- Base Coat Application: The primer is applied evenly across the surface, allowing it to cure as per the manufacturer’s instructions.
- Cure and Inspection: After the base coat has cured, the topcoat is applied, followed by a thorough inspection to ensure even coverage and quality.
This careful approach ensures that the coating adheres properly and provides the desired finish.
What Materials and Techniques Ensure Long-Lasting Garage Floor Resurfacing?
Using high-quality materials and techniques is essential for achieving long-lasting results in garage floor resurfacing. Key considerations include:
- High-Quality Materials: Opt for premium epoxy or polyurea coatings that offer superior durability and resistance to wear.
- Expert Application: Professional application techniques ensure that the coating is applied evenly and correctly, maximizing its lifespan.
- Final Inspection: A thorough inspection after application helps identify any areas that may need touch-ups or additional attention.
These factors contribute significantly to the overall performance and longevity of the garage floor coating.
How Long Does the Garage Floor Coating Take to Cure and Dry?
Curing and drying times for garage floor coatings can vary based on the type of coating used. Generally, the following timelines apply:
- 12 hours to walk on: After the initial curing period, the floor can be walked on lightly.
- 24 hours to move heavy items: It is advisable to wait at least 24 hours before placing heavy items on the floor.
- 48 hours to drive on: Full curing typically takes about 72 hours, after which vehicles can be driven onto the surface.
Understanding these timelines is crucial for planning the use of your garage after the installation.
What Are Typical Garage Floor Coating Curing Times for Epoxy and Polyurea?
| Coating Type | Curing Time | Characteristics |
|---|---|---|
| Epoxy | 24-72 hours | Durable, chemical-resistant, ideal for heavy use |
| Polyurea | 12-24 hours | Fast-curing, flexible, excellent for varying temperatures |
This comparison highlights the advantages of each type of coating — learn more in our guide to choosing between epoxy and polyurea for your garage floor — allowing homeowners to choose based on their specific needs.
Can You Use Your Garage the Same Day After Coating?
Using your garage the same day after coating depends on the type of coating applied. Generally, you can expect:
- Walking on the floor: Allowed after 12 hours.
- Moving heavy items: Recommended after 24 hours.
- Driving on the floor: Safe after 72 hours.
These guidelines help ensure that the coating sets properly and maintains its integrity.
What Are the Benefits of Choosing a 1-Day Garage Floor Coating Service?
Choosing a 1-day garage floor coating service offers several advantages:
- Quick Curing Times: Fast-drying coatings allow for minimal downtime.
- High-Quality Results: Professional application ensures a durable and aesthetically pleasing finish.
- Increased Durability: Quality coatings provide long-lasting protection against wear and tear.
Specialty Concrete Coatings specializes in providing these efficient and effective services, backed by a solid warranty, ensuring that your garage floor is ready for use in no time. Ready to get started? Get a free quote today.
How Does Fast Installation Minimize Disruption for Homeowners and Businesses?
Fast installation minimizes disruption by allowing homeowners and businesses to resume their normal activities quickly. This efficiency is particularly beneficial for commercial properties where downtime can lead to lost revenue. By choosing a service that emphasizes quick turnaround times, you can ensure that your garage is functional and ready for use without significant delays.
Frequently Asked Questions
What types of coatings are available for garage floors?
Garage floors can be coated with various materials, including epoxy, polyurea, and polyurethane. Epoxy is known for its durability and chemical resistance, making it ideal for heavy use. Polyurea offers fast curing times and flexibility, which is beneficial in varying temperatures. Polyurethane provides a glossy finish and is resistant to UV light. Each type has its unique characteristics, so it’s essential to choose one that aligns with your specific needs and usage patterns.
How can I maintain my garage floor after coating?
Maintaining your garage floor after coating is crucial for its longevity. Regular cleaning with a mild detergent and water will help remove dirt and debris. Avoid using harsh chemicals that can damage the coating. Additionally, consider applying a sealant every few years to enhance protection against stains and wear. Promptly addressing any spills or stains will also prevent them from setting in, ensuring your floor remains in excellent condition for years to come.
Is it necessary to hire a professional for garage floor coating?
While DIY options are available, hiring a professional for garage floor coating is highly recommended. Professionals have the expertise, tools, and materials to ensure proper surface preparation and application, which are critical for achieving a durable finish. They can also identify and address any underlying issues with the concrete that may affect the coating’s performance. Investing in professional services can save you time and money in the long run by ensuring a high-quality result.
What should I do if my garage floor coating starts to peel?
If your garage floor coating begins to peel, it’s essential to address the issue promptly to prevent further damage. Start by identifying the cause, which could be due to improper surface preparation, moisture issues, or using low-quality materials. You may need to remove the peeling sections and reapply the coating after proper surface preparation. Consulting a professional can provide you with the best course of action to restore your floor’s integrity and appearance.
Can I apply a new coating over an existing one?
Yes, you can apply a new coating over an existing one, but proper preparation is crucial. The old coating must be thoroughly cleaned and, if necessary, sanded or ground down to ensure good adhesion. Any peeling or damaged areas should be repaired before applying the new coating. It’s advisable to consult with a professional to assess the condition of the existing coating and determine the best approach for a successful application.
What factors can affect the cost of garage floor coating?
The cost of garage floor coating can vary based on several factors, including the type of coating chosen, the size of the garage, and the condition of the existing floor. Additional costs may arise from necessary repairs, surface preparation, and the complexity of the installation process. Labor costs can also differ depending on the expertise of the contractor. It’s best to obtain multiple quotes and consider the long-term benefits of investing in high-quality materials and professional services.